Give Your Agent Eyes: Driving Simulators and Devices
An agent that cannot run your app is guessing. These are the MCP servers that let it build, launch, screenshot and read logs from a simulator or a real device, what each one is actually for, and why to start with one loop rather than five servers.
On this page
- What is the closed-loop principle?
- What does closing the loop actually change?
- What is mobile-mcp good for?
- What does XcodeBuildMCP add?
- Where does the Expo MCP server fit?
- What does Maestro MCP do?
- What about Flutter?
- When do you want Appium MCP?
- Which two would you probably not start with?
- What does Claude Code do that no MCP does?
- How much of this should you install?
- Where should you start?
- Frequently Asked Questions
What is the closed-loop principle?
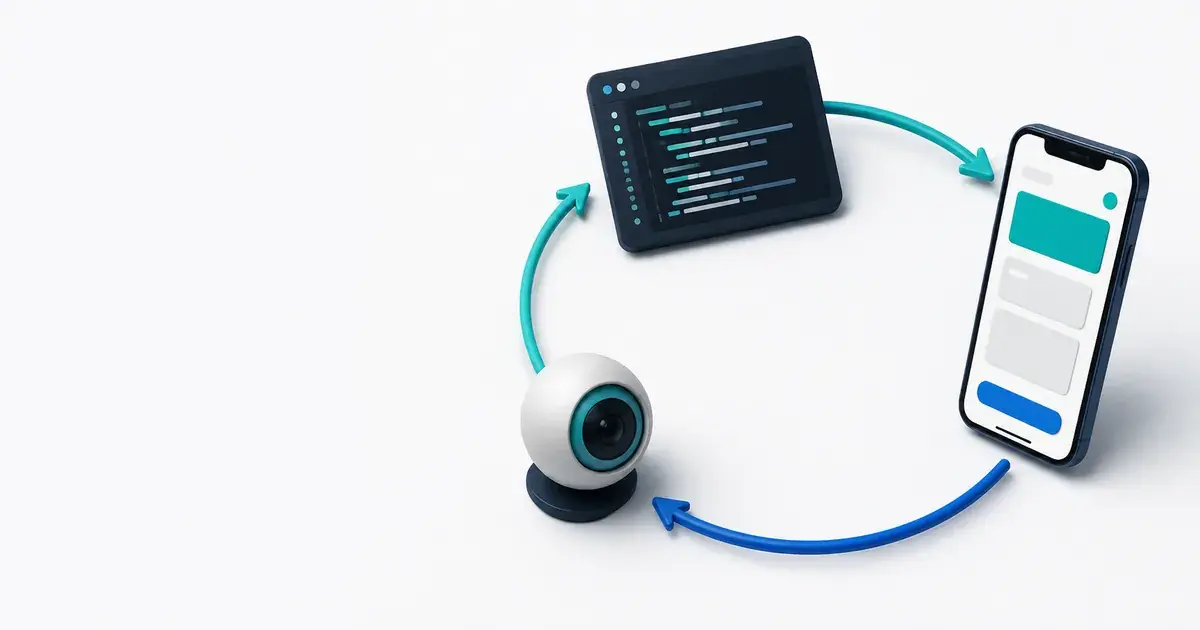
An agent that can run the app and read the result corrects itself; one that cannot is writing code and hoping.
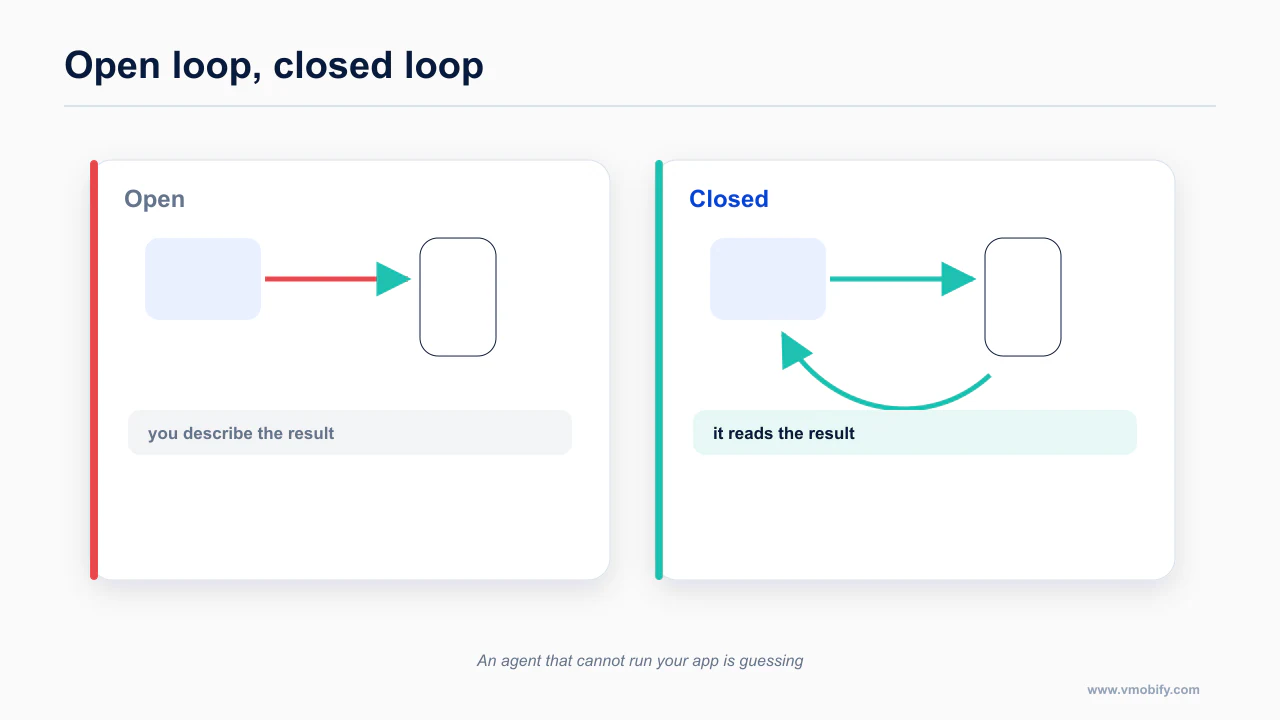
An open loop is: generate code, hand it to a human, wait for the human to describe what went wrong in prose.
A closed loop is: generate code, run it, observe the result, compare it to the intent, change the code, run it again. The agent supplies its own error signal.
Mobile makes this harder than web in three ways, which is why it arrived later here:
- There is no URL to open. The app has to be built and installed first, which takes minutes, not milliseconds.
- The rendered output is not a DOM. It is a native view hierarchy or an accessibility tree, and its quality varies by platform.
- Real devices need signing, tunnels and drivers. Simulators are cheap; the phone in your pocket is not.
Everything in this post is about narrowing those three gaps. The rule of thumb that follows from the principle: an observation the agent can make itself is worth more than a much better observation it has to ask you for. A blurry screenshot the agent can take a hundred times beats a perfect bug report you write once.
What does closing the loop actually change?
A worked example makes the difference concrete: a layout bug that is invisible in review and obvious on a narrow device.
Here is the loop doing something real. I am describing the shape of the interaction, not a transcript.
You ask for a profile settings screen. The agent writes a list of rows, each a label on the left, a value on the right, a chevron after it. It looks correct on the simulator it happened to have open, which is a recent large iPhone.
Then you give it one instruction: check this at the narrowest width we support.
Step one, the agent boots a small device. It calls the device tool's list command, picks a simulator at a small logical width, and installs the development build. On Android the equivalent framing is the Compact window size class, which covers everything under 600dp. 320 sits deep inside it.
Step two, it screenshots. The screenshot comes back as an image, and Claude Code can read images directly. This is the part that people underestimate. The agent is not parsing a description of the screen. It is looking at it.
Step three, it names the break. The value text for "Notification preferences" has run into the chevron and been clipped mid-word. The row height is fixed, so the second line of the longer label has nowhere to go. The agent can say all of this from the image alone.
Step four, it takes the accessibility snapshot. The screenshot says something is wrong; the view hierarchy says exactly which node. The row container has a fixed height and the label has no flex behaviour, so it never shrinks and never wraps.
Step five, it fixes the actual cause. Not a magic number. The label gets a flex value so it can shrink, the value gets a truncation mode, and the fixed row height becomes a minimum height so the row can grow. That last change matters more than the width fix, because iOS body text scales from 17 pt at the default size to 53 pt at the largest accessibility size, a 3.1× range. Any container with a hard height clips long before that.
Step six, it re-screenshots at the same width, then at the largest text size, then at a large width. Three images, one after another, without asking you anything.
Step seven, it writes a test. The regression it just fixed becomes a Maestro flow, so the next change cannot silently reintroduce it.
Total human input: one sentence. Everything below is about which server gives you which step.
The failure modes it catches are exactly the ones in the mobile UI/UX rules AI agents get wrong: fixed heights on text containers, hardcoded insets, layouts that only work at one width. The design rules that make this class of bug predictable are in the mobile UI/UX rules agents get wrong.
What is mobile-mcp good for?
mobile-mcp is the platform-agnostic default and the right first install for most people.
If you install one device server, install this one.
claude mcp add mobile-mcp -- npx -y @mobilenext/mobile-mcp@latestIt works across iOS and Android, against simulators, emulators and real devices, from the same tool surface. It gives you accessibility snapshots with a screenshot fallback, screen recording and crash reports. It requires Node 20 or later.
Two things make it the default rather than merely an option. First, it is the most reliable Android path in Claude Code, and Android is otherwise the weakest MCP category by a wide margin. There is no official Google adb MCP server. Everything claiming to be one is community-maintained, and the most-cited community Android server errors out when multiple devices are connected unless you pin one in its config, and has no logcat streaming tool at all.
Second, being platform-agnostic means the agent does not need a different mental model per platform, which matters more than it sounds when it is also holding your codebase in context.
The honest limits: accessibility tree quality varies, so the agent sometimes gets a rich structured snapshot and sometimes something close to a flat list. And real iOS devices are expensive to set up, needing go-ios, WebDriverAgent and a tunnel. Treat real-device automation as a deliberate later investment, not a day-one goal.
A note on Android Studio's Agent Mode, since people ask: it is an MCP client, not a server. It consumes MCP servers and runs its own agent loop. You cannot call it from Claude Code.
The primary reference for this is mobile-next/mobile-mcp — worth reading in full rather than taking a summary of it, because the details here change more often than the shape of the advice does.
What does XcodeBuildMCP add?
XcodeBuildMCP covers the iOS build-run-read cycle, which is the part Xcode otherwise keeps to itself.
For iOS work on a Mac, this is the server that closes the build half of the loop rather than just the interaction half. It builds and tests iOS and macOS projects, controls simulators, captures logs and drives UI automation.
claude mcp add XcodeBuildMCP -- npx -y xcodebuildmcp@latest mcpLook at the end of that command. The trailing mcp subcommand is not decoration. Omitting it is the single most common setup failure with this server. You get a process that starts and then does not behave like an MCP server, and the error you see is unhelpful. If your server is not registering, check for that word before you check anything else.
Two more things to know before you install it.
Ownership moved. The project now lives under getsentry rather than its original author's account. The old URL redirects, so tutorials that point at the old path still work, but the repository you should be reading is the new one.
It sends telemetry to Sentry by default. You can turn that off by setting XCODEBUILDMCP_SENTRY_DISABLED. Whether you care depends on your project, but you should know it is happening rather than find out later. Set it in your MCP server config alongside the command if you want it off.
Requirements are macOS 14.5 or later, Xcode 16.x or later, and Node 18 or later. It skips Swift macro validation by default, which speeds builds up and is worth remembering if you use macros heavily. Physical devices need signing configured in advance; the server does not solve signing for you, and nothing does.
The documentation worth reading before you act on this is getsentry/XcodeBuildMCP — worth reading in full rather than taking a summary of it, because the details here change more often than the shape of the advice does.
Where does the Expo MCP server fit?
The Expo server closes the React Native loop specifically, which is a different job from generic device control.
If you are on Expo, the official server gives you a slice of this for free alongside its build and store tooling.
claude mcp add --transport http expo https://mcp.expo.dev/mcpRun /mcp afterwards to complete the OAuth step. Among its 30-plus tools are local screenshot, tap and find-by-testID, React Native DevTools access, and an Expo Router sitemap. The sitemap tool is quietly one of the most useful things here, because it lets an agent enumerate every route in the app instead of guessing at navigation.
Three limits shape how you use it: only one dev-server connection at a time, iOS local automation works against macOS simulators only and not physical devices, and it requires SDK 54 or later.
The find-by-testID tool has a design consequence worth acting on. If your agent-written components carry testID props and proper accessibility labels, both your automation and your screen-reader support improve at once. Accessibility work pays twice here, which is a rare thing.
This is documented directly in Expo MCP server documentation — worth reading in full rather than taking a summary of it, because the details here change more often than the shape of the advice does.
What does Maestro MCP do?
Maestro adds inspect, generate, run and self-correct, which turns flows into something the agent can iterate on.
Maestro is where the loop stops being ad-hoc and starts producing artifacts you keep.
curl -fsSL "https://get.maestro.mobile.dev" | bashThe MCP server is bundled with the CLI. There is no separate package to install.
claude mcp add maestro -- maestro mcpThe tools are list_devices, inspect_screen, take_screenshot, run, cheat_sheet, list_cloud_devices, run_on_cloud, get_cloud_run_status and open_maestro_viewer. The loop they enable is the point:
- Inspect.
inspect_screenreturns the live view hierarchy as JSON. The agent now knows the real selectors on the real screen, not the ones it hoped it wrote. - Generate. It writes a Maestro flow in YAML against those selectors.
cheat_sheetexists specifically so the agent can check its syntax instead of hallucinating commands. - Run.
runaccepts inline YAML or a file, so the agent can try a flow without committing anything. - Self-correct. The run output tells it which step failed and why. It rewrites and runs again.
That fourth step is why this is different from asking an agent to write tests. A test written open-loop is a guess about selectors. A test written this way was executed against the running app before you ever saw it.
Two operational notes: the MCP is versioned with the CLI, so upgrade them together, and cloud tools need authentication while local ones do not. Some hosts need JAVA_HOME set.
assertWithAI and why optional: true is a trap
Maestro also offers assertWithAI and extractTextWithAI, which take a screenshot and evaluate a natural-language assertion against it. You need a MAESTRO_CLI_AI_KEY for them. Conceptually they are appealing: instead of pixel-diffing a screen full of dynamic content, you assert "the cart shows three items and a total" and let a model judge.
They are experimental, and there is a specific detail you must know before putting them in CI. These commands default to optional: true, which means a failed assertion does not fail the run.
Sit with what that means. You add AI assertions to your pipeline, the pipeline goes green, you conclude the screens are correct. But a step that cannot fail carries no information: green means the step executed, not that the assertion held. You have added cost, latency and nondeterminism, and bought confidence that is not connected to anything.
If you use them, do two things. Set optional: false explicitly on any assertion you actually rely on, so that a failure fails the build. And keep deterministic assertions as your backbone: real selectors, real testIDs, real assertVisible. The AI assertion is for the cases where a baseline would be too brittle to maintain, such as generated or personalised content. It is a supplement, not a replacement.
There is a second-order cost too. Every AI assertion is a model call, on every run, in every pipeline. That is a bill and a latency budget, and neither is visible in the YAML.
For the authoritative version, see Maestro — worth reading in full rather than taking a summary of it, because the details here change more often than the shape of the advice does.
What about Flutter?
Patrol covers the Flutter equivalent, and the choice is largely determined by your framework rather than by preference.
Flutter has its own version of this loop, released in March 2026.
dart pub add --dev patrol_mcpThe MCP entry point is an executable launcher script rather than a package invocation, which also means it works with FVM if you use it. Its tools are run (with hot restart), screenshot, native-tree, status and quit, wrapping patrol develop. It has been tested with Claude Code, Cursor, Copilot and Gemini CLI.
native-tree is the tool that matters, because it exposes the native view hierarchy rather than only the Flutter widget tree. That is where permission dialogs, system sheets and anything else outside Flutter's rendering surface live, and it is exactly what breaks Flutter integration tests written blind.
Two caveats. The agent can get stuck mid-session, so build a habit of calling quit and restarting rather than trying to reason it out of a bad state. And it is mobile only; Flutter web support is waiting on a framework fix.
Alongside it, the Dart and Flutter MCP server ships inside the Dart SDK itself, which is unusual and convenient.
claude mcp add --transport stdio dart -- dart mcp-serverIt gives you analyzer diagnostics, symbol resolution, running-app introspection through DTD, hot reload, pub.dev search, pubspec management, test running and formatting. It is explicitly experimental and needs Dart 3.9 or later. On Flutter web, flutter_driver finder commands including screenshots and taps are not supported, so the loop degrades to analysis only there.
When do you want Appium MCP?
Appium earns its place when you need generated test code rather than an agent driving the device interactively.
Appium's official MCP server is the right pick when the output you want is portable test code rather than an interactive session.
claude mcp add appium-mcp -- npx -y appium-mcp@latestIt covers device discovery and preparation, session creation and attachment, element discovery by locator and by vision, gestures, text input, screenshots and video, install and launch, and test-code generation from natural language. It bundles the UiAutomator2 and XCUITest drivers, so you are not assembling a driver stack by hand.
The cost is setup weight: Node 22 or later, a JDK, the Android SDK, and Xcode for iOS. That is a real afternoon. Choose it when you already have an Appium suite, when you need a language binding Maestro does not produce, or when your CI is already built around it. For a solo project starting fresh, Maestro is less to carry.
The source that settles this is Patrol by LeanCode — worth reading in full rather than taking a summary of it, because the details here change more often than the shape of the advice does.
Which two would you probably not start with?
ios-simulator-mcp does simulator UI interaction, inspection, screenshots and video.
claude mcp add ios-simulator npx ios-simulator-mcpIt is macOS only, requires Facebook's IDB installed separately, and you should pin version 1.3.3 or later because of command-injection vulnerabilities in earlier releases. It has largely been superseded by XcodeBuildMCP.
metro-mcp is the most React Native-specific option, talking to Metro over the Chrome DevTools Protocol.
claude mcp add metro-mcp -- npx -y metro-mcpWhat it gets you is genuinely distinct: console output, network requests, exceptions, JavaScript evaluation, Redux state, the React tree, device automation and test recording that can emit Appium, Maestro or Detox. For debugging a state bug, reading live Redux state is worth more than any number of screenshots.
The constraint is structural. It needs React Native 0.70 or later with Hermes, and Hermes permits exactly one CDP connection at a time. If you have React Native DevTools open, or another debugger attached, they fight. That single-connection conflict is the main reason people abandon it, and it is worth knowing before rather than after.
What does Claude Code do that no MCP does?
Reading a screenshot back and comparing it to intent is a capability of the model, not of any server.
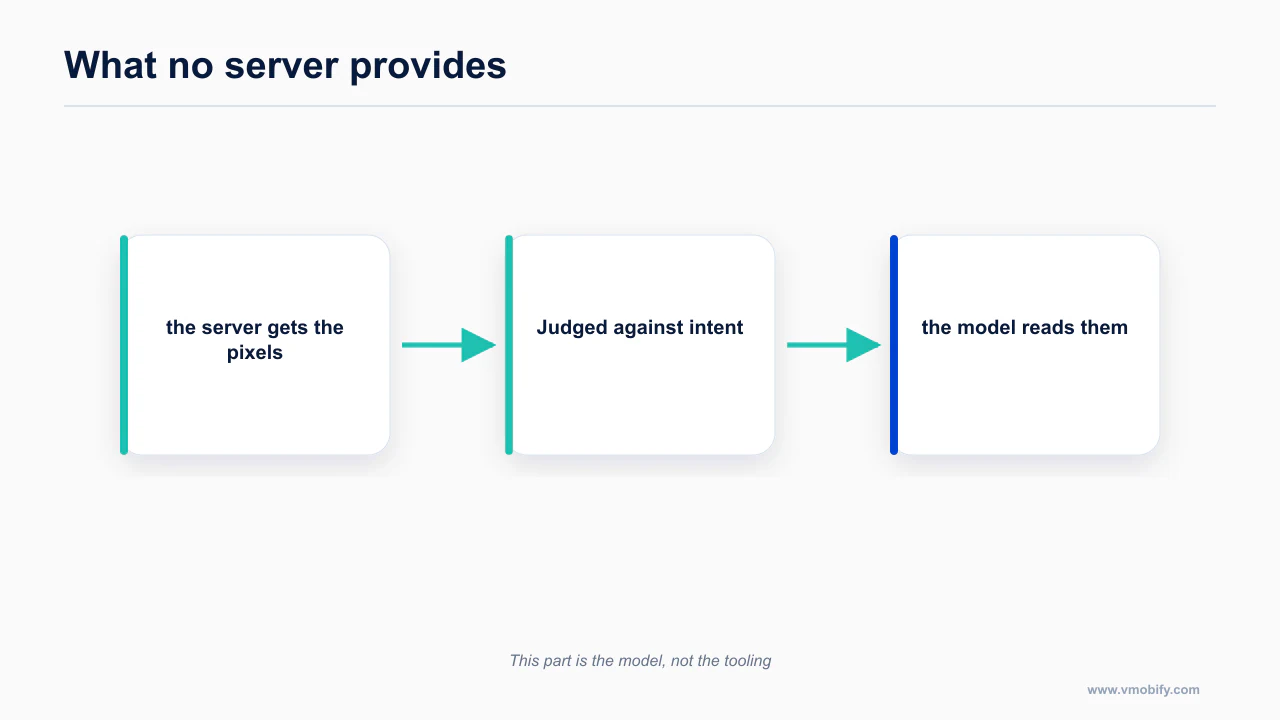
There is no MCP server for any of the mobile visual regression tools. Not for Emerge Tools Snapshots, which generates snapshots from your existing Xcode Previews and Compose Previews without you writing test code. Not for Paparazzi or Roborazzi, which run Android screenshot tests on the JVM with no emulator at all. Not for swift-snapshot-testing. Not for App Percy.
You do not need one. The pattern is:
- Run the snapshot command through Bash.
- Have the agent read the diff PNGs directly.
Claude Code can view images. That is the whole integration. The agent runs ./gradlew and then looks at the pictures, which is exactly what you would do.
This is the most underused capability in the whole category. People install four MCP servers to get an agent access to pixels it could have read off disk.
How much of this should you install?
Install for the loop you actually run, because every server costs context on every session.
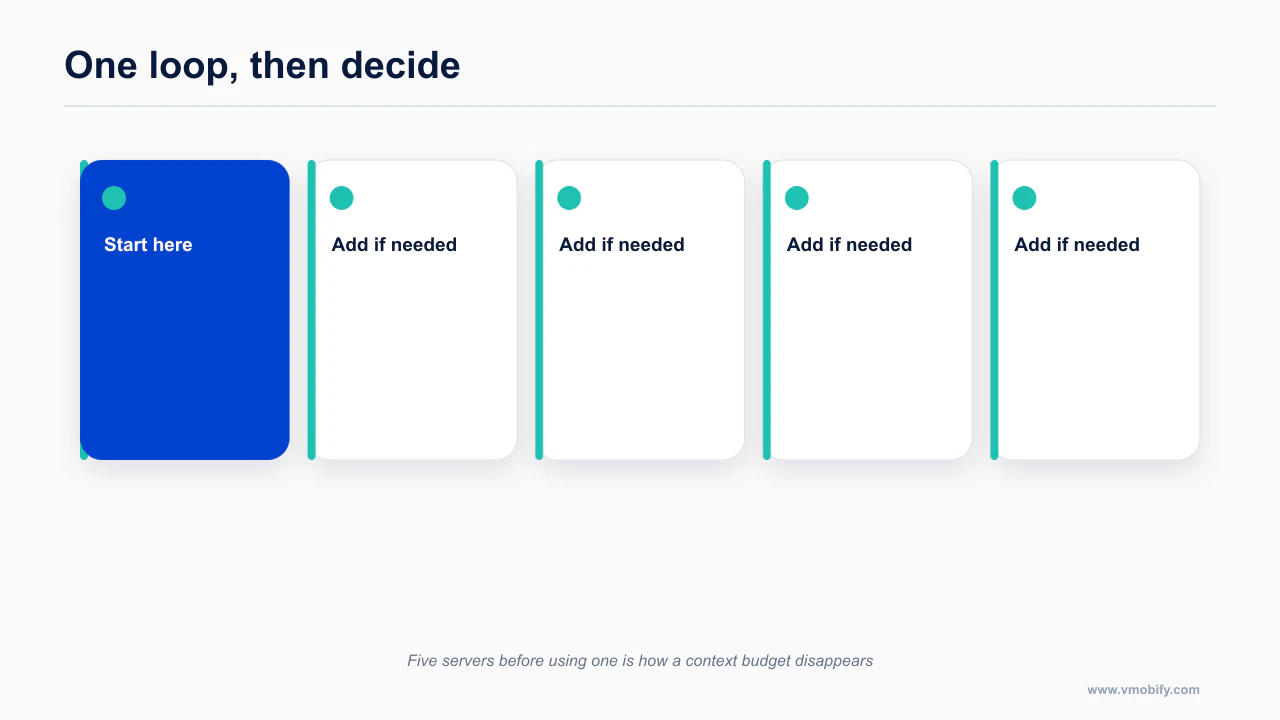
Every MCP server you add consumes context before you write a line of code, and mobile servers are not small. A reasonable position:
- React Native or Expo, cross-platform: mobile-mcp plus Maestro MCP. Add the Expo MCP if you are already on SDK 54 or later and want the build and store tools with it.
- iOS-heavy, on a Mac: XcodeBuildMCP plus Maestro MCP. Remember the trailing
mcpand set the Sentry variable if you want telemetry off. - Flutter: the Dart MCP server plus Patrol MCP.
- Android-only: mobile-mcp plus Maestro MCP, and accept that this is the thinnest tooling category.
Add Appium only when portable test code is the deliverable. Add metro-mcp only when chasing a state or network bug, and give it the Hermes connection exclusively.
The full annotated directory is every Claude Code skill, plugin and MCP for mobile development. The context arithmetic is covered in the mobile tooling directory.
Where should you start?
Start with one loop and add a second only when the first is genuinely insufficient.
Pick the narrowest useful loop you can close this week: build, install, screenshot, read, fix, re-screenshot. One platform, one simulator, one screen you already know is slightly wrong.
Then make the fix permanent by having the agent write the Maestro flow before it moves on. That converts a correction into a regression test, and it is the step people skip.
Once the loop exists, everything else changes, because the agent stops arguing from what the code says and starts arguing from what the screen shows. If the build half of that loop still fails, the prerequisite is the development build cliff. For the same discipline applied to pull requests, see automated code review for mobile repos. The wider workflow this fits into is the mobile shipping pillar.
Frequently Asked Questions
Do I need an MCP server to test on a device at all?+
No, but without one the agent cannot see the result. It writes a change, you run it, you describe what happened. That round trip is what closing the loop removes.
Which server should I install first?+
mobile-mcp, unless you are iOS-only, in which case XcodeBuildMCP gives you build and log access as well as device control.
Can the agent read a screenshot and tell what is wrong?+
Yes, and this is the part no server provides — it is a model capability. The server gets the screenshot; the model judges it against intent.
Is Maestro a replacement for unit tests?+
No. It covers flows through a running app, which is a different layer. Both are useful and neither substitutes for the other.
Why not install all of them?+
Tool definitions load at session start whether used or not. Five servers can consume a substantial share of your context before you type anything.
Does this work on a real device or only a simulator?+
Both, depending on the server. Real devices catch a class of problems simulators do not, particularly around performance and safe areas.
What if my build cannot even start?+
Fix that first. A device loop assumes a working build; if the build fails, the problem is upstream of anything a device server can tell you.
Sources
About the author
Amol Pomane — Founder, Vmobify
Amol leads Vmobify, a mobile app growth agency that has driven 30M+ downloads and ranked 54K+ keywords across 300+ apps since 2013. He writes about ASO, paid user acquisition, retention, and the operational reality of scaling mobile apps in India and global markets.